Today is reveal day for the procrastinator's party over at the
Inspired Room. I took on three projects for this reveal. Yes, three....spoken like a true procrastinator with unrealalistic expectations....right?
My reveal is going to take three days.....or more....because I have three different projects to show you. It wouldn't be right to show you everything at once.
I am starting with my school room first because it has been the one that I have put off the longest.....5 months I think.
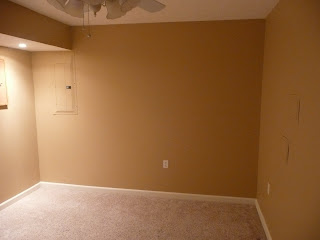
Remember this picture?


After

This shot doesn't really look like a school room. This is my work area. The teacher needs a well organized inspiring space, right?
I wanted to use a bright color in here. I couldn't paint the walls so I had to add color with accessories.
These are my favorite little frames. I know the pictures are missing. At least they are on the wall. I want to fill them with silhouettes of my children....

Please ignore the hole in the wall and the ugly cover that my husband says hides something important. It's a work in progress.
I added a bit of spray paint and a bit of cork to a few old frames I had. They are cute and functional. It is difficult to see in the picture, I do not have a good camera, but I made cute little magnets for my homemade chalkboard and pins for the cork frames.


Did I ever mention that I have a small obsession with jars? I had to add some to the school room.


I also like small shelves.


I took the drawer out of the little cabinet and placed it on the opposite side to house my collection of blank cards. I love my wire bin for storing paper.

I finally bought desks for each of the kids. They are so excited to have their own space for all of their school books.

This is the storage area. All of our school supplies, curriculum and preschool manipulatives are stored here. I love that everything is in one area all nice and organized. The pictures hanging above the shelf are from a store similar to Goodwill. They are vintage school posters that have cute little character building sayings on them. Please pay no attention to the drawer pull that is just hanging there. Just keeping it real. My one year completely broke the drawer pull before I took the picture. Oh yes, a day in the life of me...he he.

I have tons of paper that needs to be filed....but I don't have a file cabinet in here. I bought this great wall organizer from discount school supplies to hold all my files.
I also display a few of our art projects throughout the year on this wall as well as our weekly bible verse on the dry erase board.

This is my homemade chalkboard. I made it from the top of an old table. I just taped off the edges and went to town with my chalkboard spray paint. I love the way it turned out.

The alphabet above the chalkboard was made by my sister-in-laws brother. He cut out each letter. At some point I want to have a rod of some kind below the letters to display more art work.

Come back this week to see the reveal of the boys room and this cabinet all fixed up!


I am also linking up to A Soft Place to Land for her DIY day.


